
When you have several separate PDF files—such as signed pages, receipts, or scanned forms—sending them one by one as separate attachments is messy. Combining them into a single, clean PDF makes them much easier to read, email, and store.
You don’t need to pay for Adobe Acrobat or upload your private documents to an unknown website to merge them. Your Mac already has two built-in tools—Preview and Finder—that can combine PDF files in seconds.
Quick Answer
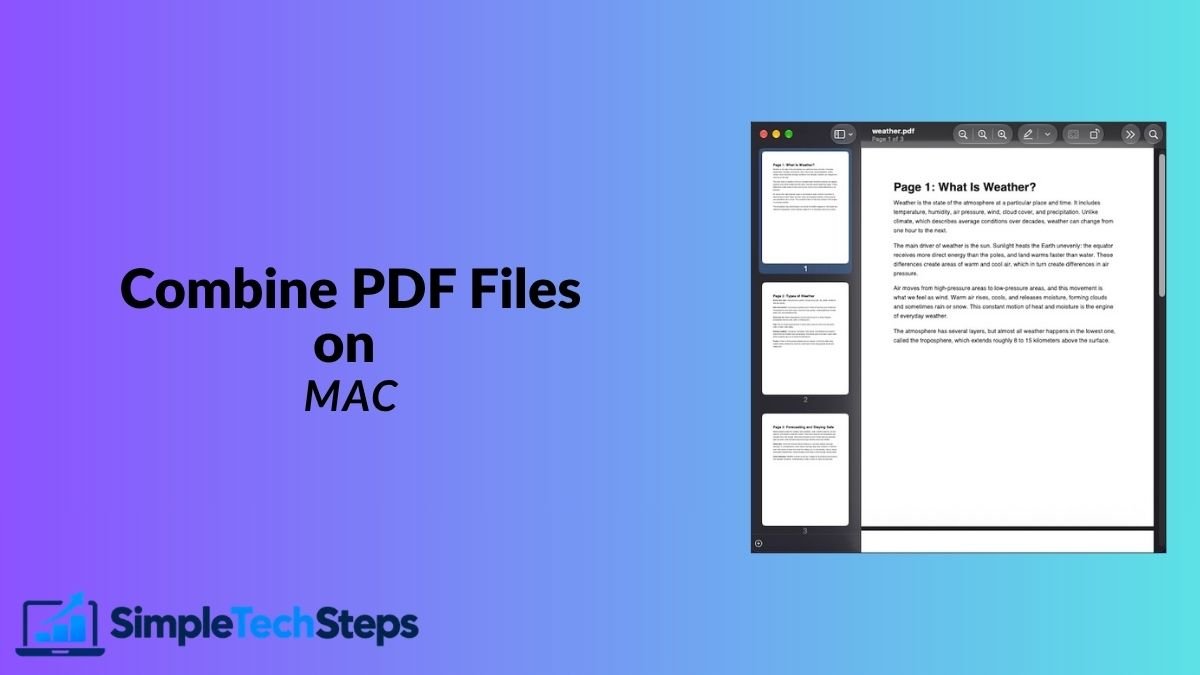
For the fastest method, select your PDF files in Finder, right-click them, and choose Quick Actions → Create PDF. If you want to choose the exact page order or merge specific pages, open the first PDF in Preview, turn on View → Thumbnails, and drag the second PDF directly into the thumbnail sidebar.
Method 1: Combine PDFs Using Preview (Best for Controlling Page Order)
Preview is built into every Mac and gives you full control over where the new pages go. Make a duplicate of your original PDF first if you want to keep the unmerged version separate, since Preview saves changes directly to the open file.
- Double-click your first PDF to open it in Preview.
- In the top menu bar, click View and select Thumbnails so all pages appear in the left sidebar.
- Click the page thumbnail where you want the second PDF to appear right after.
- In the top menu bar, click Edit → Insert → Page from File…
- Select the second PDF from your Mac and click Open.
- Drag the thumbnails up or down in the sidebar if you want to rearrange the page order.
- Click File → Save (or File → Export as PDF… to save it under a new file name).

You can also drag and drop a PDF file straight from a Finder window into the Preview thumbnail sidebar at the exact spot where you want those pages added.

When I merged two multi-page documents on my Mac, dragging the second file straight into the Preview sidebar let me place it between specific pages in seconds.
Method 2: Combine Full PDFs in Finder (Fastest Method)
If you simply want to join two or more complete PDFs together from start to finish without rearranging individual pages, you don’t even need to open an app.
- Open Finder and go to the folder containing your PDFs.
- Hold down the Command (⌘) key and click each PDF in the exact order you want them combined.
- Right-click (or Control-click) on the selected files.
- Hover over Quick Actions and click Create PDF.
Your Mac immediately creates a brand-new, merged PDF file in the same folder while leaving your original files untouched. Simply click the file name and press Return to rename it.

Combine Specific Pages Only
Sometimes you only need one or two pages from a long PDF rather than the entire document.
- Open both PDFs in Preview and place the two windows side by side.
- Turn on View → Thumbnails in both windows.
- Select the specific page thumbnail you want from one window (hold Command to select multiple pages).
- Drag those thumbnails across into the other window’s sidebar and drop them into place.
- Save the final document.
Delete or Rotate Pages After Merging
If a combined document has a blank page or a sideways scan, you can clean it up in the same Preview sidebar before saving.
- Delete a page: click the page thumbnail in the sidebar and press the Delete (Backspace) key on your keyboard.
- Rotate a page: select the thumbnail and press Command + R (or click the rotate button in the Preview toolbar) until it sits upright.
- Reorder pages: click and drag any thumbnail to a new position in the list.
If you still have paper pages that need to be added to your file, see our guide on how to scan documents with your iPhone and send them straight to your Mac as a PDF.
Reduce the Size of a Combined PDF
Merging several PDFs—especially scanned ones—can create a file that is too large to send by email.
- With the combined PDF open in Preview, click File → Export… in the menu bar.
- Keep the Format set to PDF.
- Click the Quartz Filter menu and choose Reduce File Size.
- Give the file a new name and click Save.
Check the saved file before sending it, since the built-in reducer compresses images heavily. If you are adding pictures to documents first, it helps to compress photos on Mac without losing quality beforehand, and regularly free up storage on your Mac by deleting old draft files you no longer need.
Fixing Common Problems
My original PDF was overwritten with the combined version.
Preview automatically saves changes to the first PDF you opened. If this happens by mistake, open the file in Preview and click File → Revert To → Browse All Versions… to restore the original version.
The pages were added at the very top instead of the end.
When dragging a PDF into the Preview sidebar, make sure you drop it below the existing thumbnails (or use Edit → Insert → Page from File… after clicking the last thumbnail).
Finder combined my PDFs in the wrong order.
Finder merges files in the exact order you click them while holding Command. Click the first file, hold Command, click the second file, and then right-click to choose Create PDF.
Frequently Asked Questions
Is it safer to combine PDFs in Preview than on a website?
Yes. Preview and Finder process your files entirely on your Mac, so private documents like IDs, contracts, or tax forms are never uploaded to someone else’s server.
Does combining PDFs in Finder delete the original files?
No. Finder’s Create PDF Quick Action creates a brand-new merged file and leaves your original PDFs completely untouched.
Can I combine a PDF and a JPG image into one PDF?
Yes. Select both the PDF and the image in Finder, right-click, and choose Quick Actions → Create PDF, or drag the image into the Preview thumbnail sidebar.
Why can’t I drag pages into a PDF in Preview?
Some official PDFs are locked with owner permissions that prevent editing. Try clicking File → Export as PDF… to create an unlocked copy first.
Conclusion
For quick merges, selecting files in Finder and clicking Quick Actions → Create PDF takes less than five seconds. When you need to rearrange pages, insert a page in the middle, or remove blanks, Preview’s thumbnail sidebar handles everything without installing extra software.