
Getting photos off your iPhone should be simple, but there are five different ways to do it, and they don’t all behave the same. Some copy your photos, some sync them, and one can quietly convert your images to a different format.
This guide explains each method, when to use it, and how to make sure you keep the original quality.
Quick Answer
The most reliable way is to connect your iPhone to your Mac with a cable, open the Photos app on the Mac, select your iPhone in the sidebar, choose the photos, and click Import Selected. For a handful of photos, AirDrop is faster and needs no cable.
Method 1: The Photos App (Best for Large Transfers)
This is the standard approach and the best choice when you’re moving hundreds of photos.
- Connect your iPhone to your Mac with a USB cable.
- Unlock your iPhone and tap Trust if asked.
- Open the Photos app on your Mac.
- In the sidebar under Devices, click your iPhone.
- Choose where to import to using the Import to menu at the top.
- Select the photos you want, then click Import Selected, or click Import All New Items.
Tick Delete items after import only if you’re certain the transfer finished and you have a backup. Photos removed this way are gone from your iPhone.

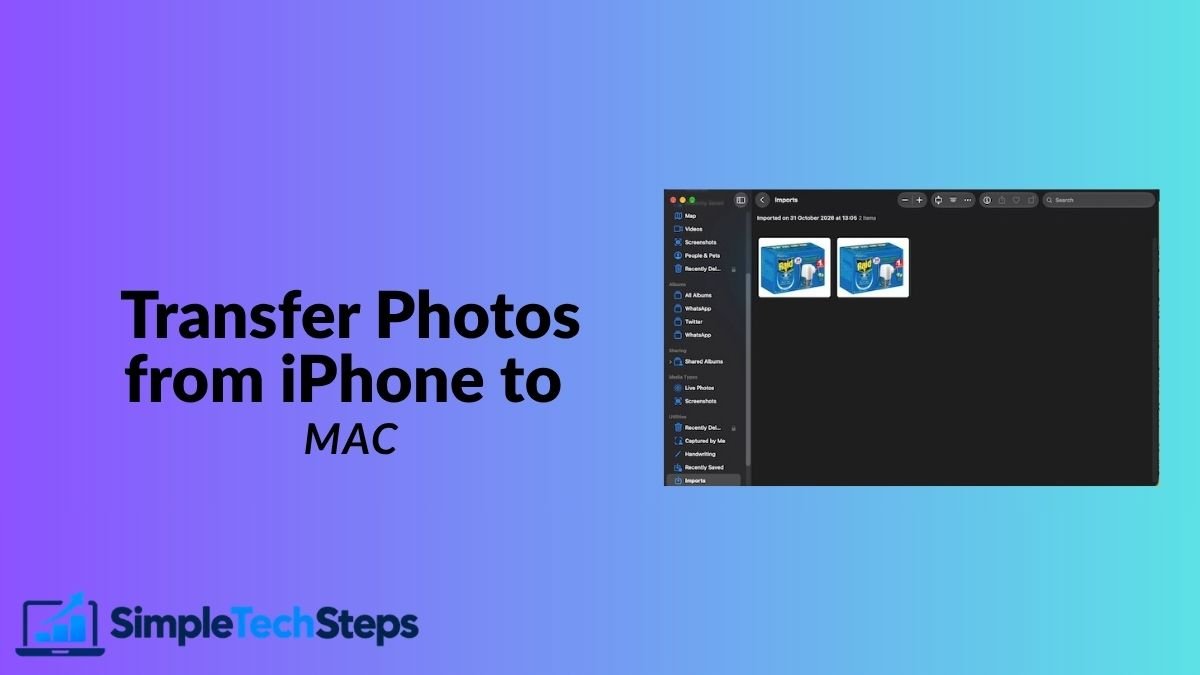
Importing about 2 photos from my iPhone 14 Pro Max took less than a second over a cable.
Method 2: AirDrop (Best for a Few Photos)
For a handful of images, AirDrop is faster than plugging anything in, and it sends the original files at full quality.
- On your iPhone, open Photos.
- Tap Select, then tap the photos you want.
- Tap the share button, then tap AirDrop.
- Tap your Mac’s name.
The photos arrive in your Mac’s Downloads folder. If your Mac doesn’t appear, our full guide on how to AirDrop between your iPhone and Mac covers every cause and fix.

Method 3: Image Capture (Best for Full Control)
Image Capture is a small app built into macOS that most people never open, and it’s the most flexible option. It copies photos straight into any folder you choose, without adding them to your Photos library.
- Connect your iPhone with a cable and unlock it.
- Open Image Capture (press Command + Space, type the name, press Return).
- Select your iPhone in the Devices list.
- At the bottom, choose a destination folder using the Import To menu.
- Select photos and click Import, or click Import All.
Use this method when you want your photos sorted into your own folders rather than living inside the Photos library.
Method 4: iCloud Photos (Best for Automatic Syncing)
With iCloud Photos, your library is the same on every device. Take a photo on your iPhone and it appears on your Mac within moments, with no cable and no manual step.
On your iPhone:
- Go to Settings → Apps → Photos.
- Turn on iCloud Photos.
On your Mac:
- Open Photos.
- Go to Photos → Settings → iCloud.
- Tick iCloud Photos.
One important warning: this is syncing, not copying. If you delete a photo on your iPhone, it disappears from your Mac too, because they’re the same library. It also uses your iCloud storage, so a large library usually means paying for an iCloud+ plan.

Method 5: Finder (For a Full Backup Instead)
If what you want is a safe copy of everything rather than individual photos, use a Finder backup.
- Connect your iPhone to your Mac with a cable.
- Open Finder and select your iPhone in the sidebar.
- Choose Back up all of the data on your iPhone to this Mac.
- Tick Encrypt local backup and set a password.
- Click Back Up Now.
The photos are inside the backup rather than browsable as files, so this protects your data but isn’t a way to work with individual images.
Keeping the Original Quality (Important)
Modern iPhones save photos in HEIC format, which is efficient but not supported everywhere. By default, your iPhone may convert images to JPEG when transferring to a computer, which re-encodes them.
To keep the untouched originals:
- Go to Settings → Apps → Photos.
- Scroll down to Transfer to Mac or PC.
- Choose Keep Originals.
Choose Automatic instead if you need maximum compatibility and don’t mind the conversion.
If you’d rather your iPhone stop creating HEIC files altogether, go to Settings → Camera → Formats and select Most Compatible. This uses more storage per photo.

Which Method Should You Use?
- Hundreds of photos at once: the Photos app over cable.
- A few photos right now: AirDrop.
- Photos sorted into your own folders: Image Capture.
- Everything always in sync automatically: iCloud Photos.
- A complete safety copy: a Finder backup.
Common Problems and Fixes
My Mac doesn’t see my iPhone. Unlock the iPhone first, tap Trust, and try a different cable. Charging-only cables don’t carry data.
The Import button is greyed out. The iPhone is probably locked, or the Trust prompt wasn’t accepted. Unlock it and reconnect.
Photos import but look different. Your iPhone converted HEIC to JPEG. Set Keep Originals as described above.
Live Photos import as two files. That’s normal: a still image plus a short video. The Photos app keeps them paired, while Image Capture shows them separately.
Imports keep failing partway. Import in smaller batches of a few hundred photos rather than everything at once.
Frequently Asked Questions
Does transferring photos delete them from my iPhone?
Only if you choose to delete them after import. By default they stay on your iPhone.
What’s the fastest way to transfer thousands of photos?
A cable with the Photos app or Image Capture. Wireless methods slow down significantly at large volumes.
Can I transfer photos without a cable?
Yes, with AirDrop for small batches or iCloud Photos for automatic syncing.
Why are my photos in HEIC format?
HEIC saves space at the same quality. Use Keep Originals to transfer them untouched, or switch the camera to Most Compatible for JPEG.
Conclusion
For most people, the Photos app over cable handles big transfers and AirDrop handles everything else. Set Keep Originals once, and you’ll never lose quality in the process.
Once your photos are safely on your Mac, you can free up storage on your iPhone by clearing the ones you no longer need, and it’s always worth checking that you regularly back up your iPhone to iCloud as a second line of defence.